In the second part of this guide, we will focus on automating the process of signing an Electron app using GitHub Actions. This guide builds on the steps described in part one.
The Goal
Now that we can sign an Electron app on our device, it's time to automate the process using a GitHub Action. By the end of this guide, every time your build runs on GitHub, a new artifact will be created and posted in the "Release" section of your repository.
How To
To sign the app, the signing and notarizing tool needs access to a keychain containing your signing certificate. While this is straightforward on your machine using the Keychain app, it's different on GitHub Actions due to the different environment. Since the action runs on a macOS machine, we will use the CLI to copy all relevant certificates to the keychain location and create a keychain to read them.
The relevant part of our GitHub Action file is as follows:
Getting the Certificates
We need some information (the env section) to proceed. Specifically, we need the certificate itself, the certificate password, the profile, and the keychain password. These should be stored as secrets in the GitHub repository in base64 format. Let's retrieve all the necessary information.
- The Build Certificate and Its Password:
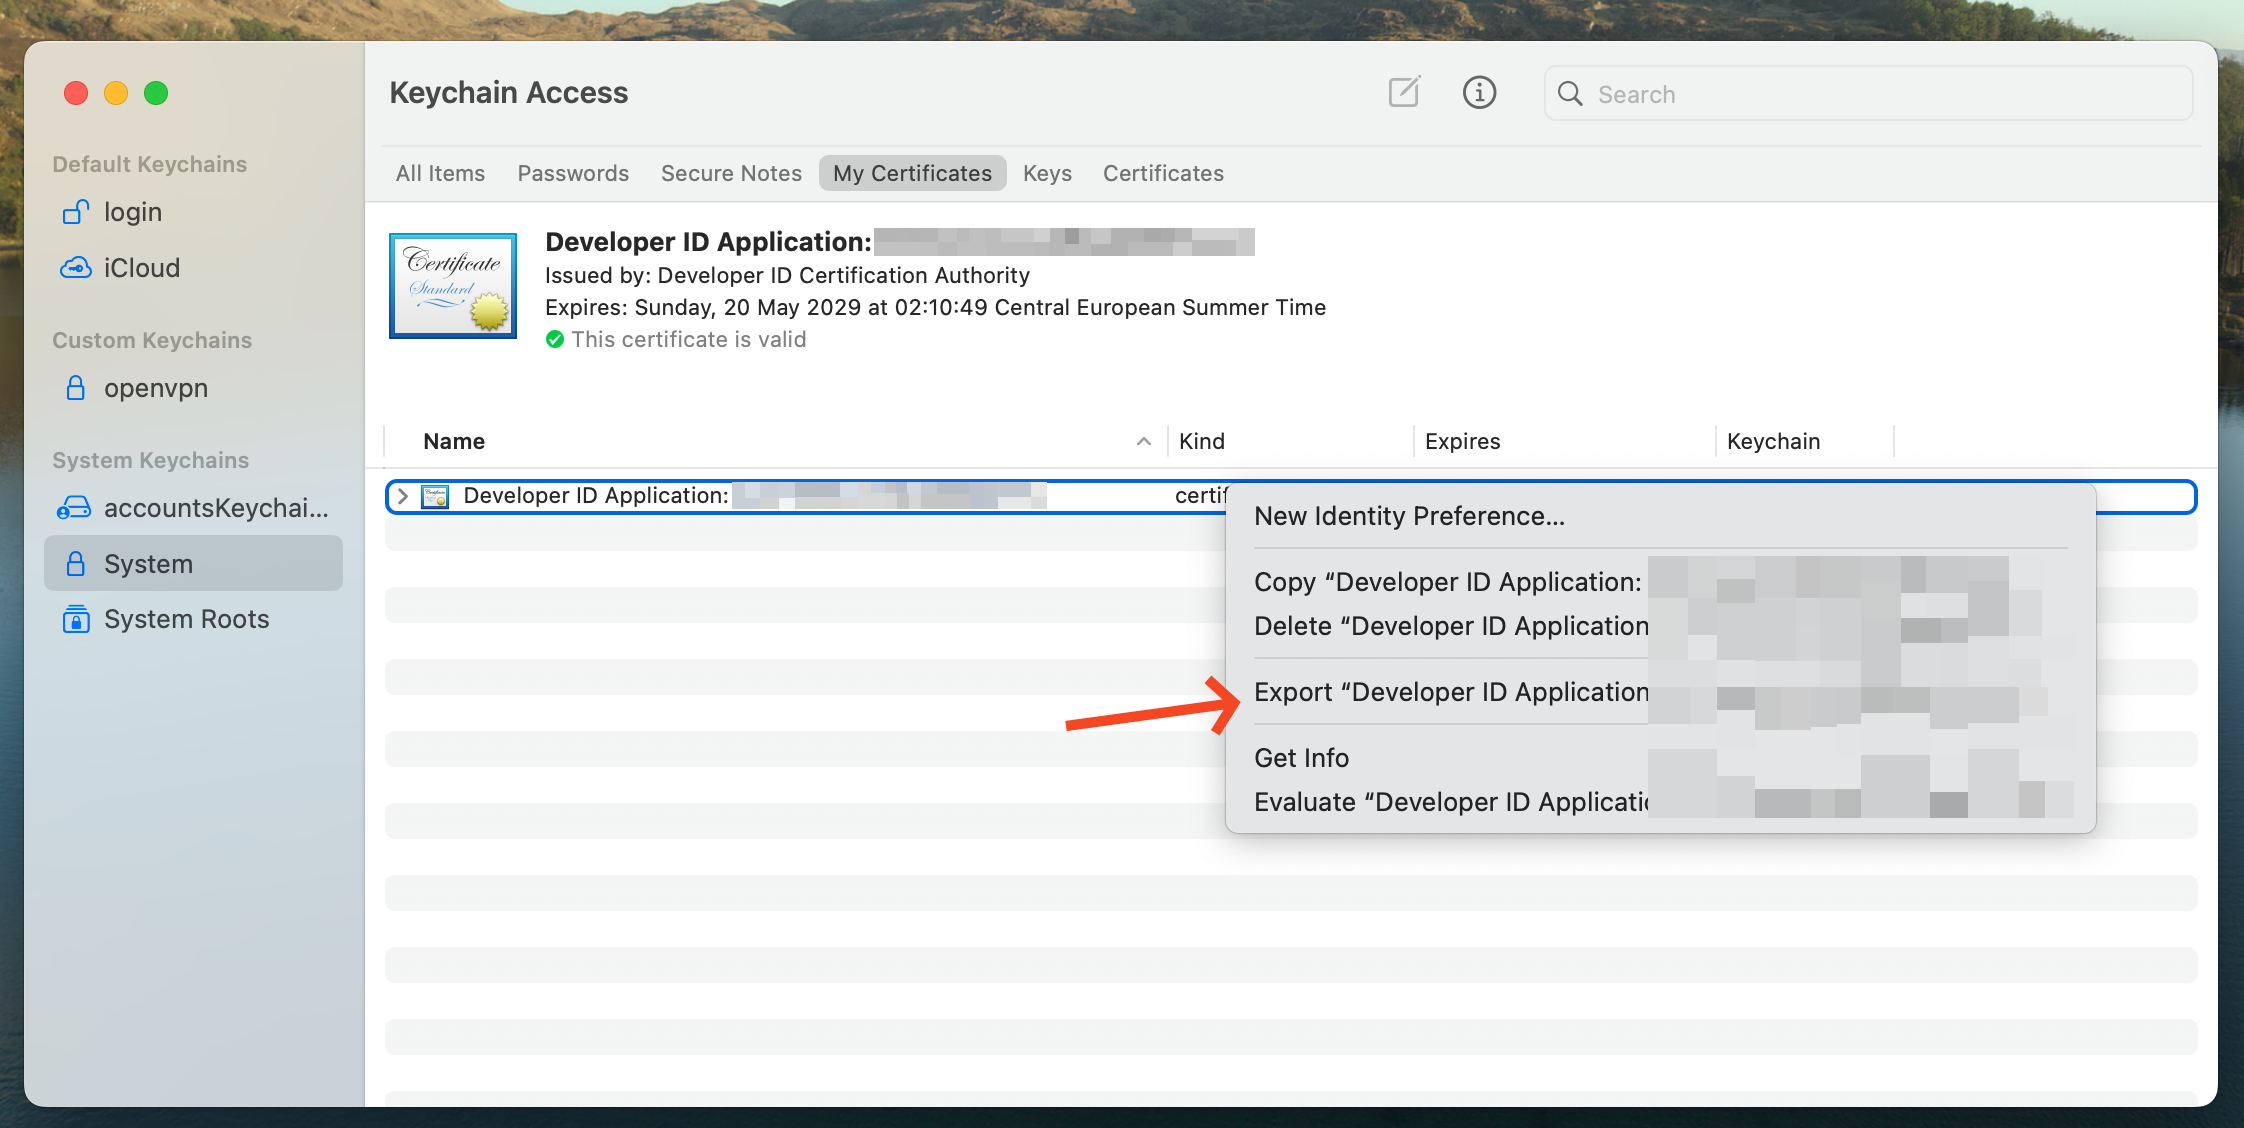
The team owner must export the certificate from their machine. Open your Keychain, right-click on the certificate (created in the first part of this guide), and select Export.

You should get a .p12 file.
We need the base64 encoded version of it to store in our repository secret. Use the following command:
This will output the content to stdout. Copy it and create a secret for your repository.
On GitHub, go to your repository, then Settings -> Secrets and Variables -> Actions.
Add a new Repository Secret, call it BUILD_CERTIFICATE_BASE64, and save the base64 version of your file.
Create another secret for the password of your certificate. Use the application password you created in the first part of this tutorial. Create another secret called BUILD_CERTIFICATE_PASSWORD and paste the plain password as the value.
- Build Provision Profile:
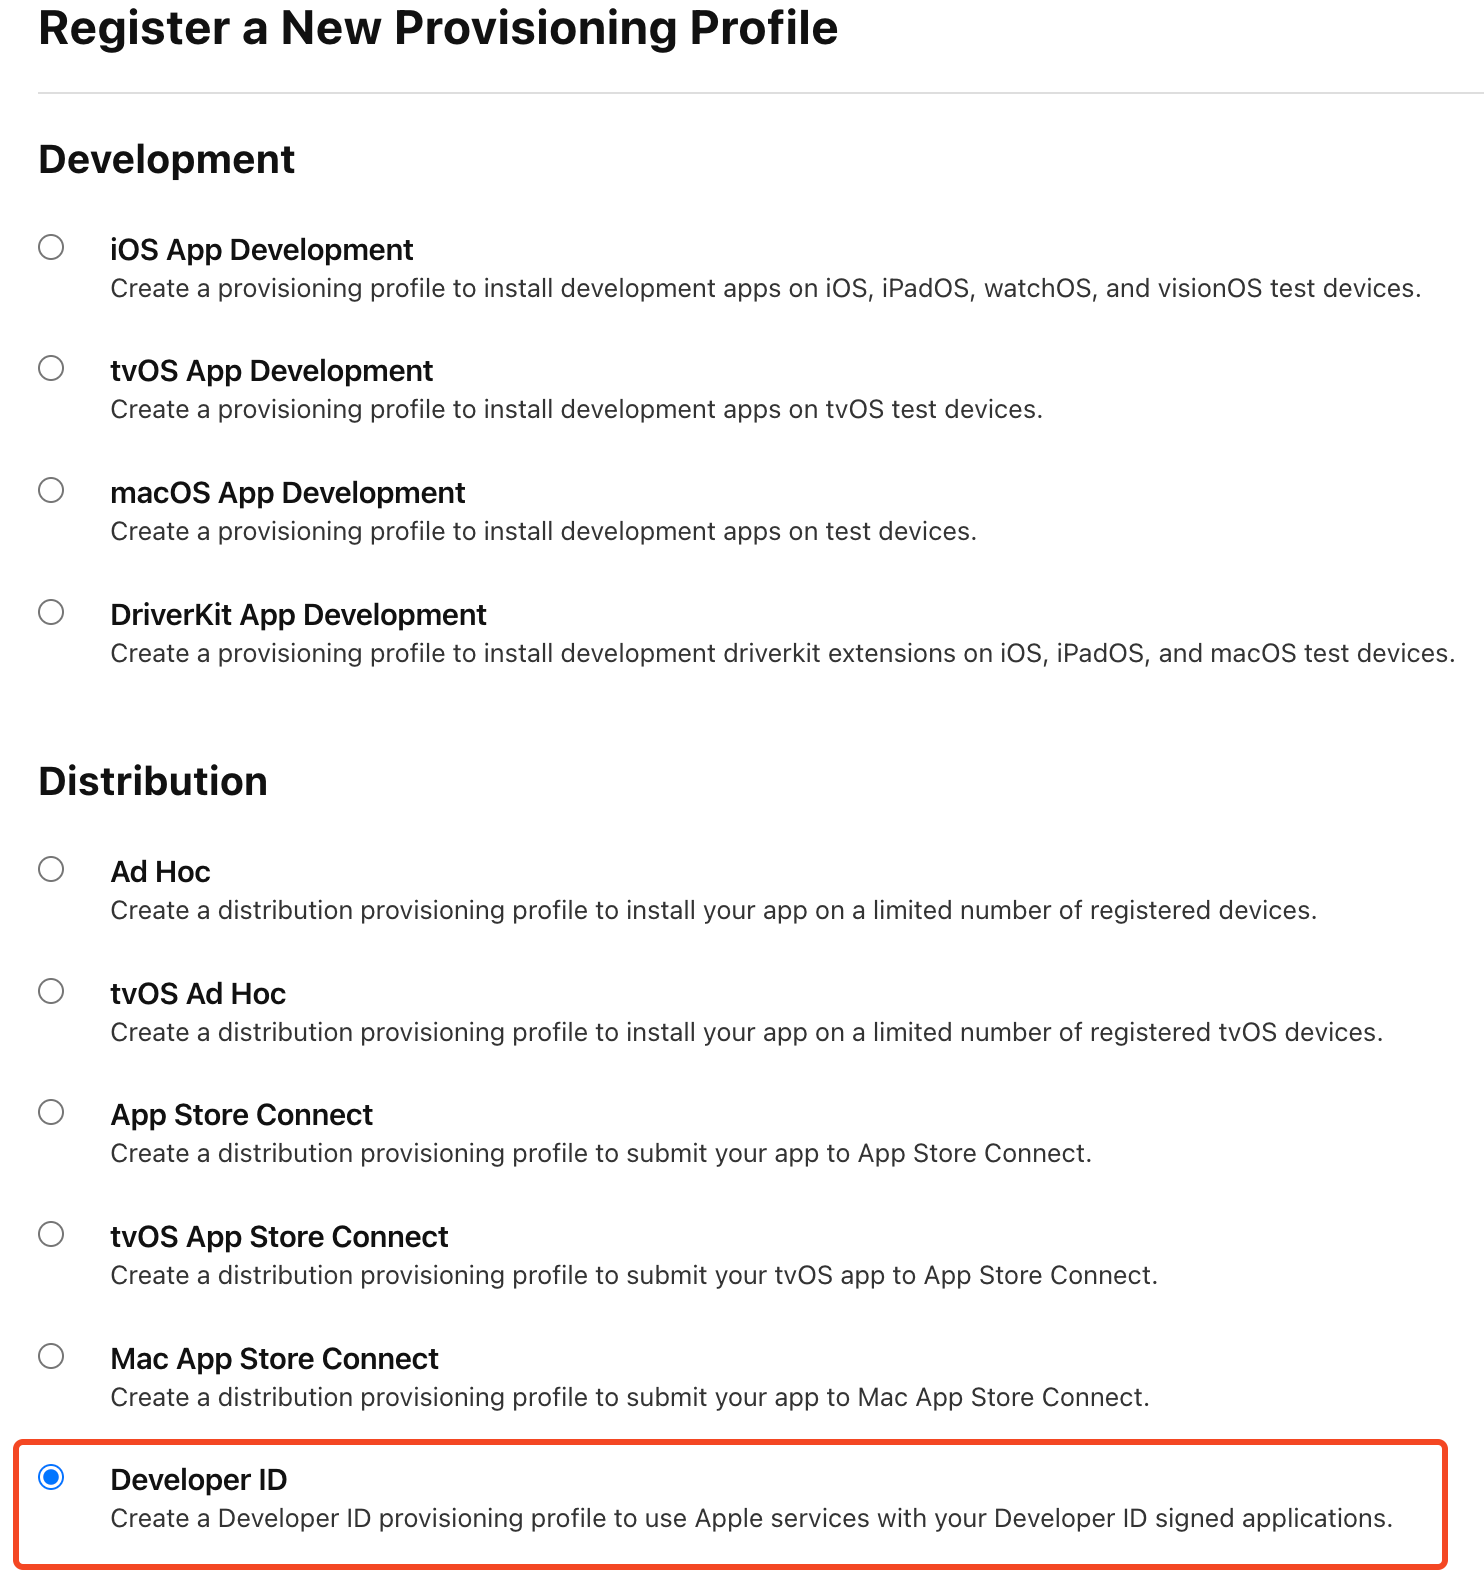
Visit your Apple Developer page and download your profile from the Profile page. If you don't have one, create a new profile of type Developer ID (as shown below), and then download it.

Export this file to its base64 version:
Save a new secret in your GitHub repository called BUILD_PROVISION_PROFILE_BASE64.
- Choose a Keychain Password:
Our keychain must be protected by a password. Choose a password and save it in a new secret variable called KEYCHAIN_PASSWORD.
Last Environment Variables
We need some more variables: APPLE_ID, APPLE_ID_PASSWORD, and APPLE_TEAM_ID. Refer to this section of the first part of the guide to find their values.
Complete GitHub Action File
Here is the complete GitHub Action file:
You can adjust the GitHub Action to fit your needs, but the part about creating the keychain and the build step should be very close to what you need.
Notes
1 I may be wrong about the password to use for this step. I no longer have access to the original data, so please, if you find anything wrong here or in any other section, leave a comment. back to text

