When it's time to implement authentication on a NextJS project, chances are that you're going to use Next-Auth. It's a very strong product and integrates perfectly with NextJS. It allows you to keep authentication in house so that you don't have to use external services. While it's very versatile, implementing magic code login can be not obvious. Magic code is not currently directly supported by next-auth and we need to implement some parts on our own. My hope is that next-auth team will cover the gap quite soon, making this guide obsolete 😉
Magic codes
One of the basic authentication methods on next-auth is magic link. With magic link your users just need
to insert their email; they'll receive an email containing a one-time-valid link and can click on it to be logged in automatically.
There are some problems in next-auth implementation, especially if user uses two different browsers to start the login process and to visit the
magic link. While this seems to be an edge case it acutally is not. On mobile this is pretty common because
mail application spawn their own browser instance that shares nothing with the original one. On iOS email
links are sometimes visited automatically to create preview, invalidating the magic link before the
user even clicks on it.
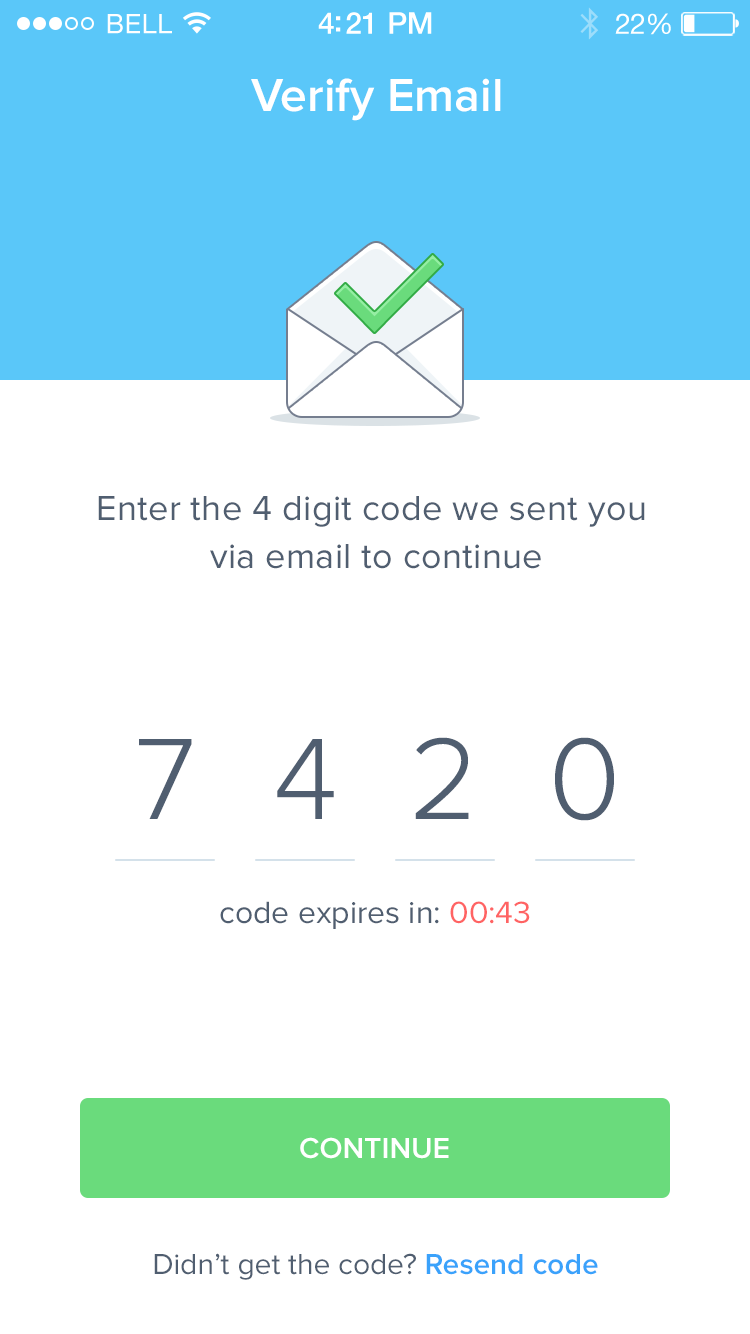
This is why magic code can be more versatile. The user, instead of receiving a link, will receive a code (can be numeric, alphanumeric, doesn't matter).
After inserting the email the login page will show an input waiting for that code.
This has the advantage that user can start login on desktop, for example, but check their email on mobile phone.

Implementation with next-auth
As first thing we need to tell next-auth that a new provider is available. I won't exaplain what a provider is, please refer to next-auht documentation.
We need an email provider with some special parts
Let's dive into the provider and see what we're doing.
This part generated the (alpha)numeric code. The function generateAuthtoken can be what you prefer. For example a function that returns five random numbers. If you do not specify this option, next-auth will generate its token format, which is very long.
maxAge: 5 * 60 tells next-auth that this magic code must be valid for 5 minutes only. It's a good idea to use low numbers when using magic code, because, since they're usually short, they can be guessed quite easily. A magic link, on the opposite , can last longer.
this function basically build and send the email containing the code. Usually this function is used to customize the look&feel of our emails, but we're using it also because the original one won't show the code as text, but only as a link.
If we change nothing, next-auth will already show a form that asks user email, and the user will receive our email containing the magic code but we're not done yet.
Customize signin page
Customization of singin page is usually done for visual purpose, but in case of magic code we are forced to do so, because we need to show a custom magic code input that next-auth is not providing. I think this is the part that prevents a more smooth implementation of magic codes with next-auth.
First of all we need to change next-auth configuration to use a custom singin page
We want to use /auth/singin page to render the signin form. Let's create the file /pages/auth/signin in out NextJS project with the following minimal code
This is a very basic page which do not consider a lot of situations (errors for example), but this way we can focus
on relevant code. Basically we're showing an email input (the EmailInput component not yet defined). When the user
insert the email, the component will notify us through the onSuccess props. After the user inserted their email, we can
show the input that accepts the code by setting showVerificationStep to true.
Let's have a look at the email input
The email input receives the email from the user and when a button is clicked (or Enter is pressed) it calls the signin method from next-auth.
It's important to notice that we specify redirect: false. This avoid any page change that is what we want in order to show the code input. What's next-auth is doing is to create (and store on DB) the magic code and to send the email to our user. If the operation goes through correctly, onSuccess is called and our component is now allowed to show the magic code input. Let's see it in action
The user can now insert the magic code. When it's done we can redirect to the verification step. From there next-auth will take the control and verify the user for you.
Conclusion
Magic code with next-auth is not strightforward because it requires some implementation from you. This means also that it's up to you to handle errors that can happen (at least to show some message for the user). In case you get stuck, have a look at the original signin page on next-auth repository and get inspiration. Again, I really hope next-auth will deprecate this guide soon by implementing magic code authentication directly, or by improving current magic link experience.

